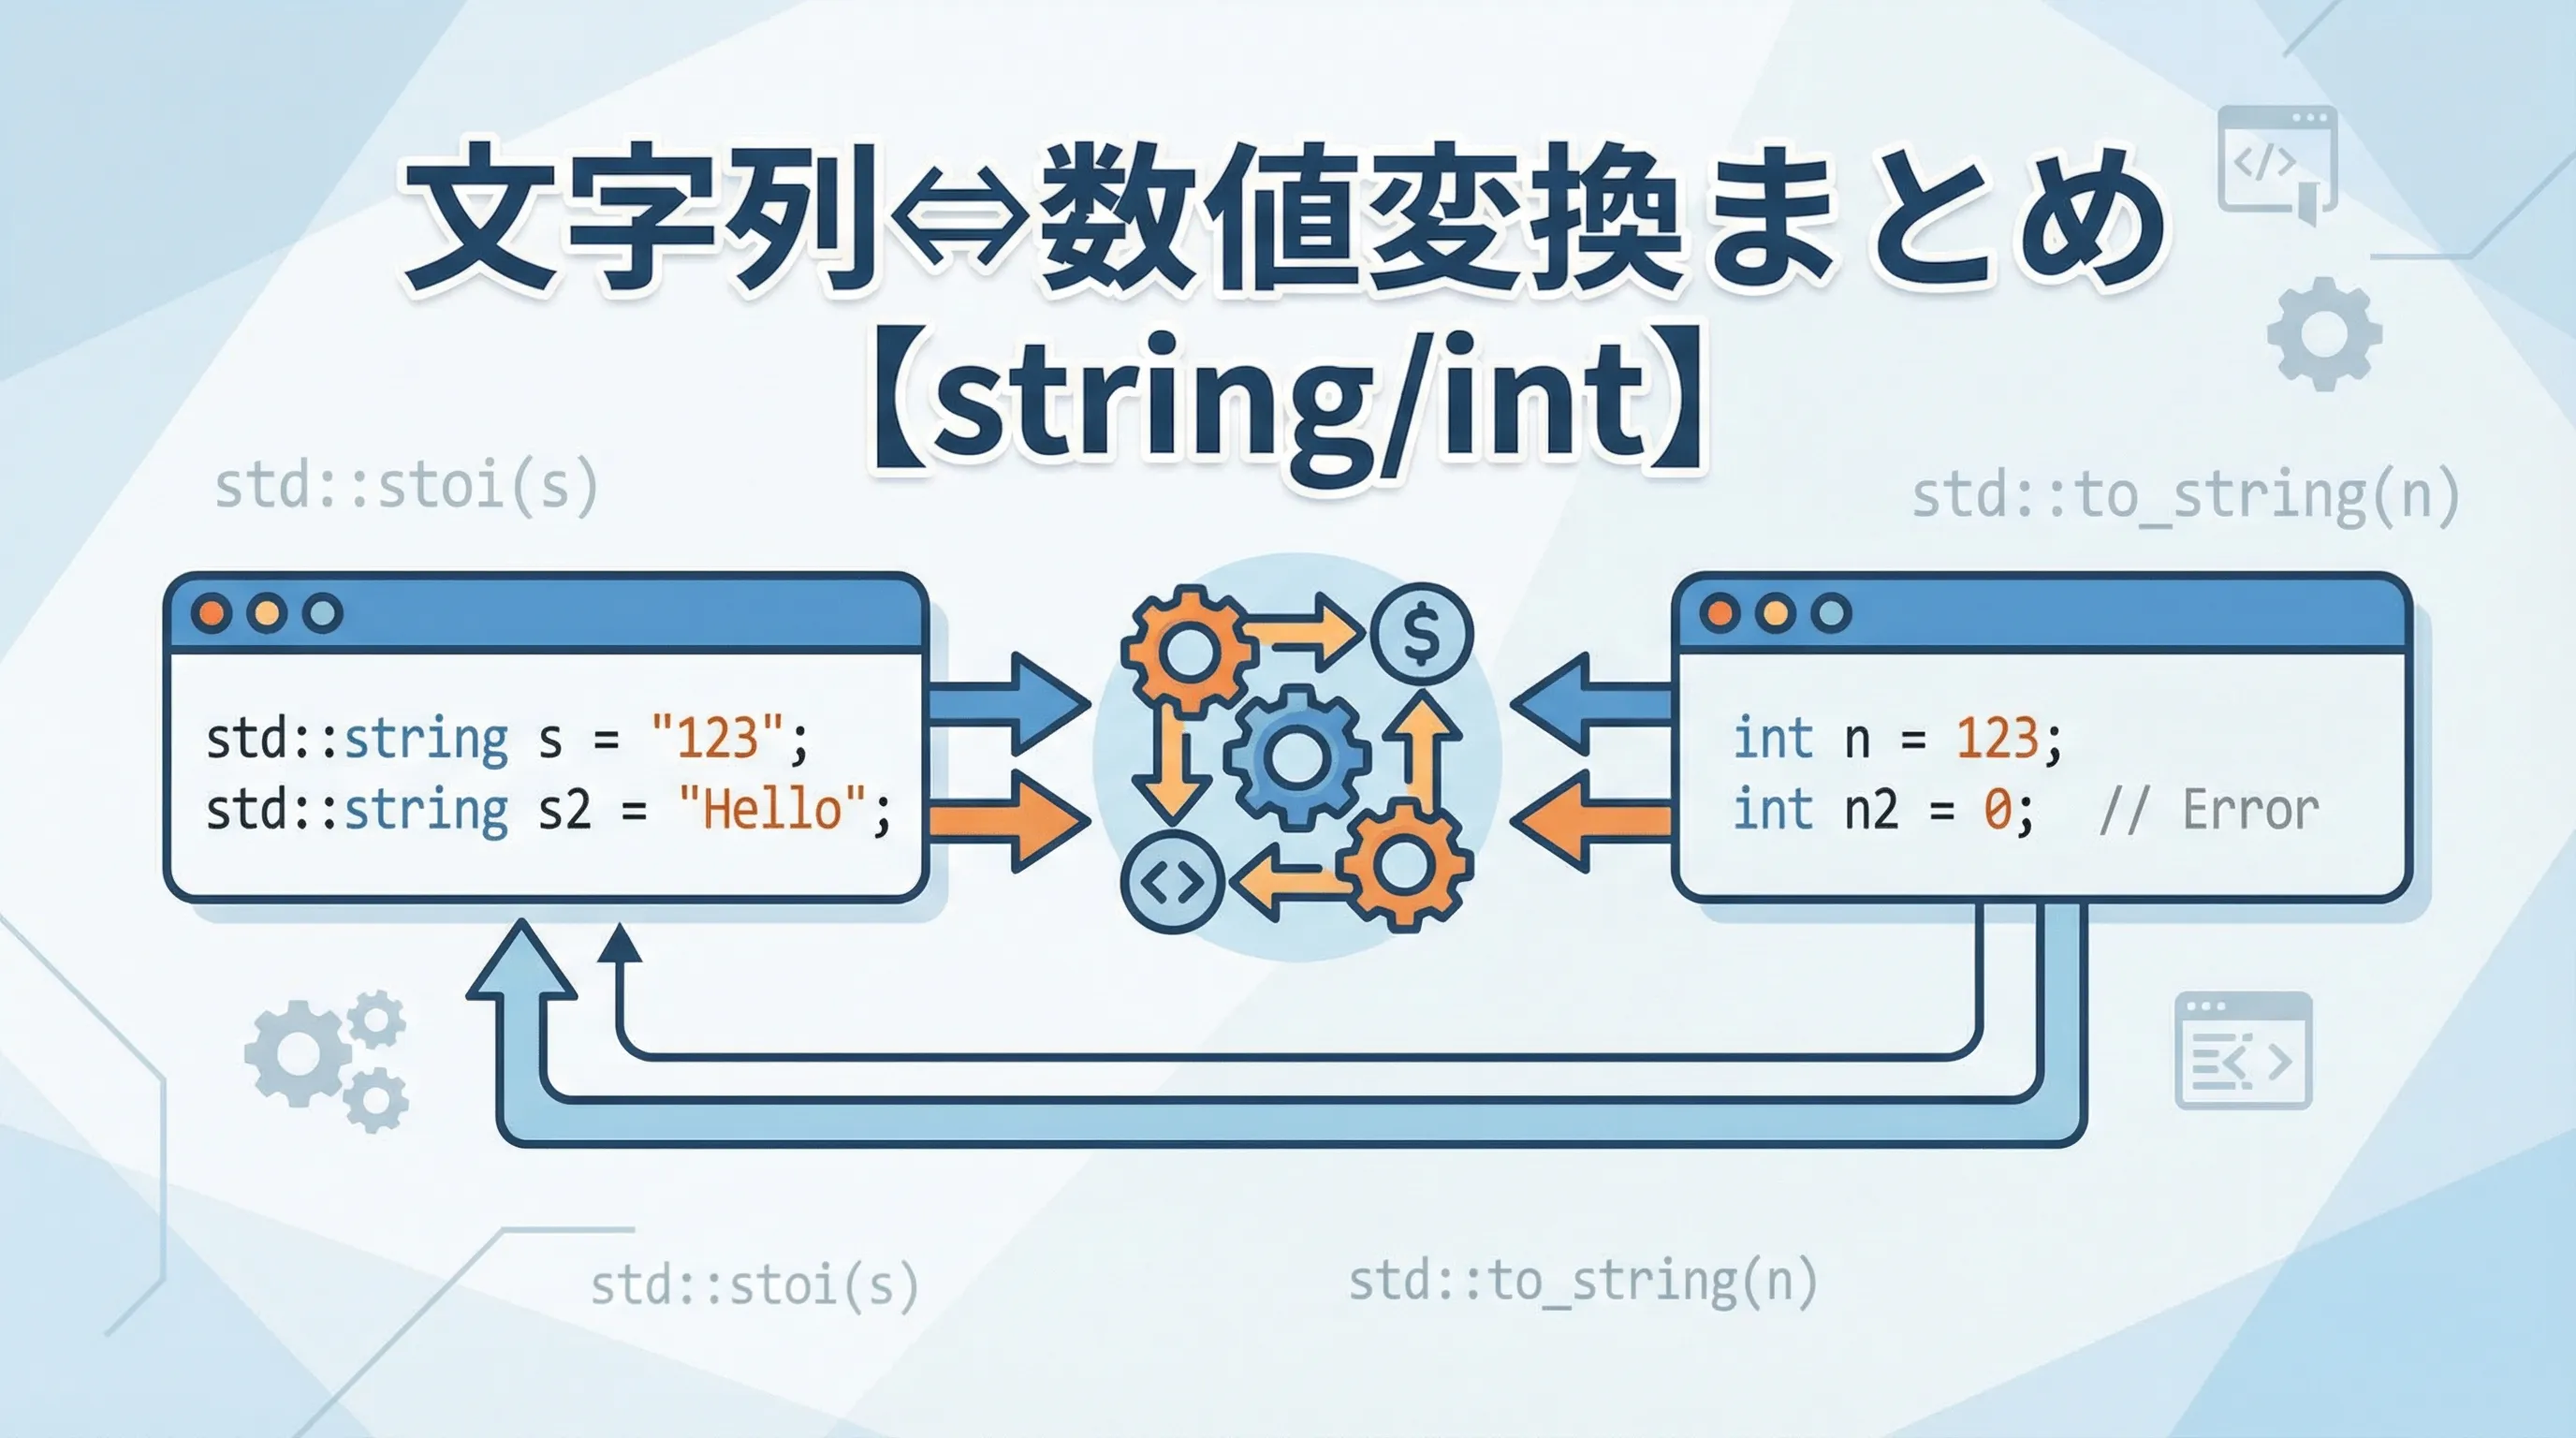
C++ではstring型とint型の相互変換は、入出力や設定値の読み込み、簡易計算ツールの作成などさまざまな場面で登場します。
本記事ではC++で文字列(string)と数値(int)を相互に変換する代表的な方法を整理し、標準的な書き方からエラー処理の注意点までを一通りまとめます。
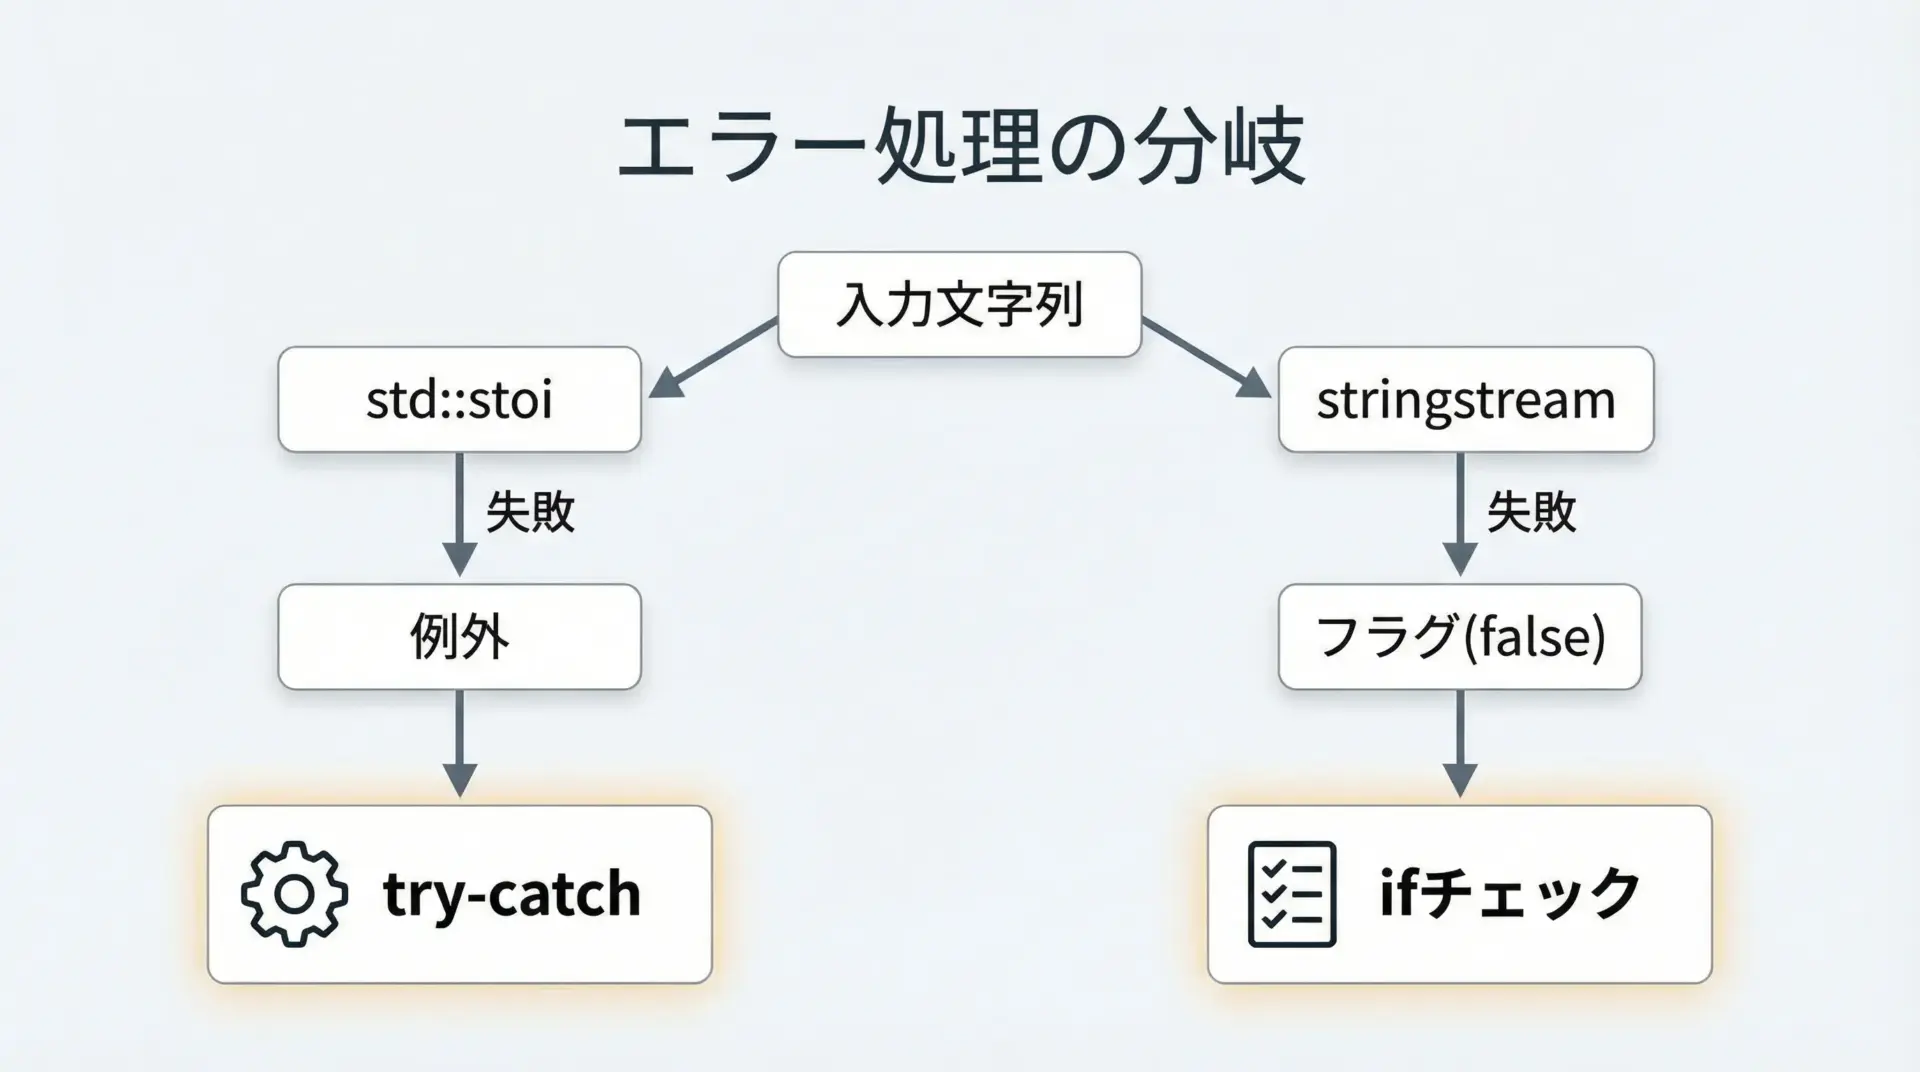
C++での文字列と数値変換の全体像
代表的な変換方法の一覧
まず、C++標準でよく使われる変換方法を俯瞰しておくと理解しやすくなります。
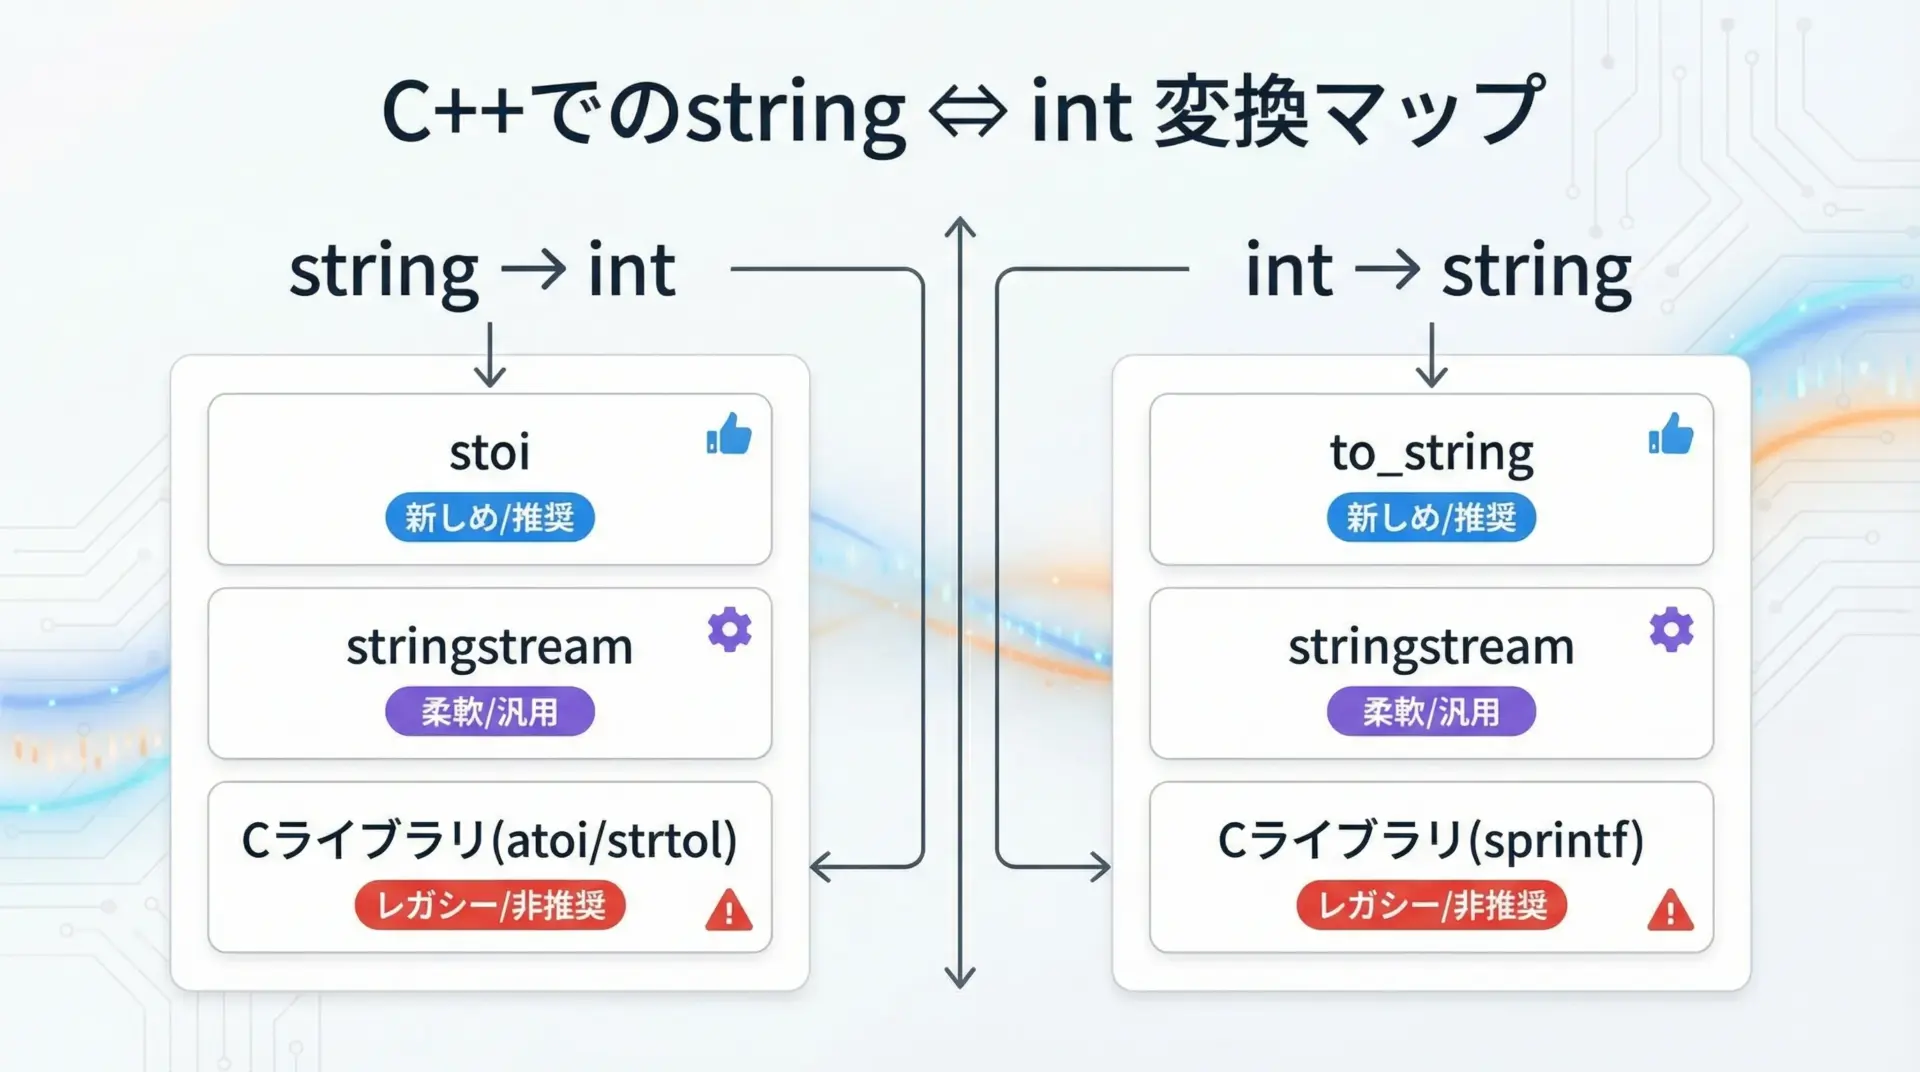
全体としては次のような分類になります。
- string → int
- stoiなどのstd::stoi系関数(C++11以降)
- std::stringstream(古くからある汎用的な方法)
- C標準関数(atoi、strtolなど)(レガシーだが今も利用されることがある)
- int → string
- std::to_string(C++11以降の標準的な方法)
- std::stringstream
- C標準関数(sprintfなど)
このうち現代的なC++でまず選ぶべきは、string → int ならstd::stoi、int → string ならstd::to_stringです。
stringstreamは柔軟ですが、やや記述が長くなります。
stringからintへの変換方法
std::stoiによる変換(推奨)
基本的な使い方
std::stoiはC++11で導入された、文字列からintへの変換関数です。
名前空間stdにあり、ヘッダ<string>で使えます。

#include <iostream>
#include <string>  // std::string, std::stoi

int main() {
    std::string s = "123";

    // std::stoiでstringからintへ変換
    int value = std::stoi(s);

    std::cout << "変換結果: " << value << std::endl;
    return 0;
}変換結果: 123このように非常にシンプルに書けます。
例外処理を伴う安全な使い方
std::stoiは変換に失敗した場合、例外を投げます。
安全に使う場合はtry-catchで囲むことが重要です。
#include <iostream>
#include <string>

int main() {
    std::string s1 = "456";
    std::string s2 = "abc";      // 数値でない
    std::string s3 = "9999999999999999";  // intの範囲外になりそうな文字列

    try {
        int v1 = std::stoi(s1);
        std::cout << "s1の変換結果: " << v1 << std::endl;

        int v2 = std::stoi(s2);  // ここで例外が発生する
        std::cout << "s2の変換結果: " << v2 << std::endl;
    }
    catch (const std::invalid_argument &e) {
        // 数値に変換できなかった場合
        std::cout << "invalid_argument発生: " << e.what() << std::endl;
    }
    catch (const std::out_of_range &e) {
        // 数値がintの範囲を超えた場合
        std::cout << "out_of_range発生: " << e.what() << std::endl;
    }

    // s3についても範囲チェック
    try {
        int v3 = std::stoi(s3);  // ここでout_of_rangeになる可能性が高い
        std::cout << "s3の変換結果: " << v3 << std::endl;
    }
    catch (const std::exception &e) {
        std::cout << "s3の変換失敗: " << e.what() << std::endl;
    }

    return 0;
}s1の変換結果: 456
invalid_argument発生: stoi
s3の変換失敗: stoiポイントとして、std::stoiは次のようなルールで動作します。
- 先頭に空白があればスキップされます
- 先頭に
+または-があれば符号として解釈されます - 数字として読める部分までを変換し、それ以降の文字は無視されます(ただし全く数字がないとinvalid_argument)
- 結果がintの範囲(int型の最小値~最大値)を超えるとout_of_range
進数を指定する(基数引数)
std::stoiには基数(radix)を指定するオーバーロードもあります。
例えば16進文字列をintにしたい場合などです。
#include <iostream>
#include <string>

int main() {
    std::string hexStr = "1A";       // 16進数で26
    std::string binStr = "1010";     // 2進数で10
    std::string decStr = "255";      // 10進数で255

    int fromHex = std::stoi(hexStr, nullptr, 16);  // 16進として解釈
    int fromBin = std::stoi(binStr, nullptr, 2);   // 2進として解釈
    int fromDec = std::stoi(decStr, nullptr, 10);  // 10進として解釈

    std::cout << "16進 1A -> " << fromHex << std::endl;
    std::cout << "2進 1010 -> " << fromBin << std::endl;
    std::cout << "10進 255 -> " << fromDec << std::endl;

    return 0;
}16進 1A -> 26
2進 1010 -> 10
10進 255 -> 255第3引数で2~36の範囲の基数を指定できるので、少し特殊な数値表現に対応したいときにも便利です。
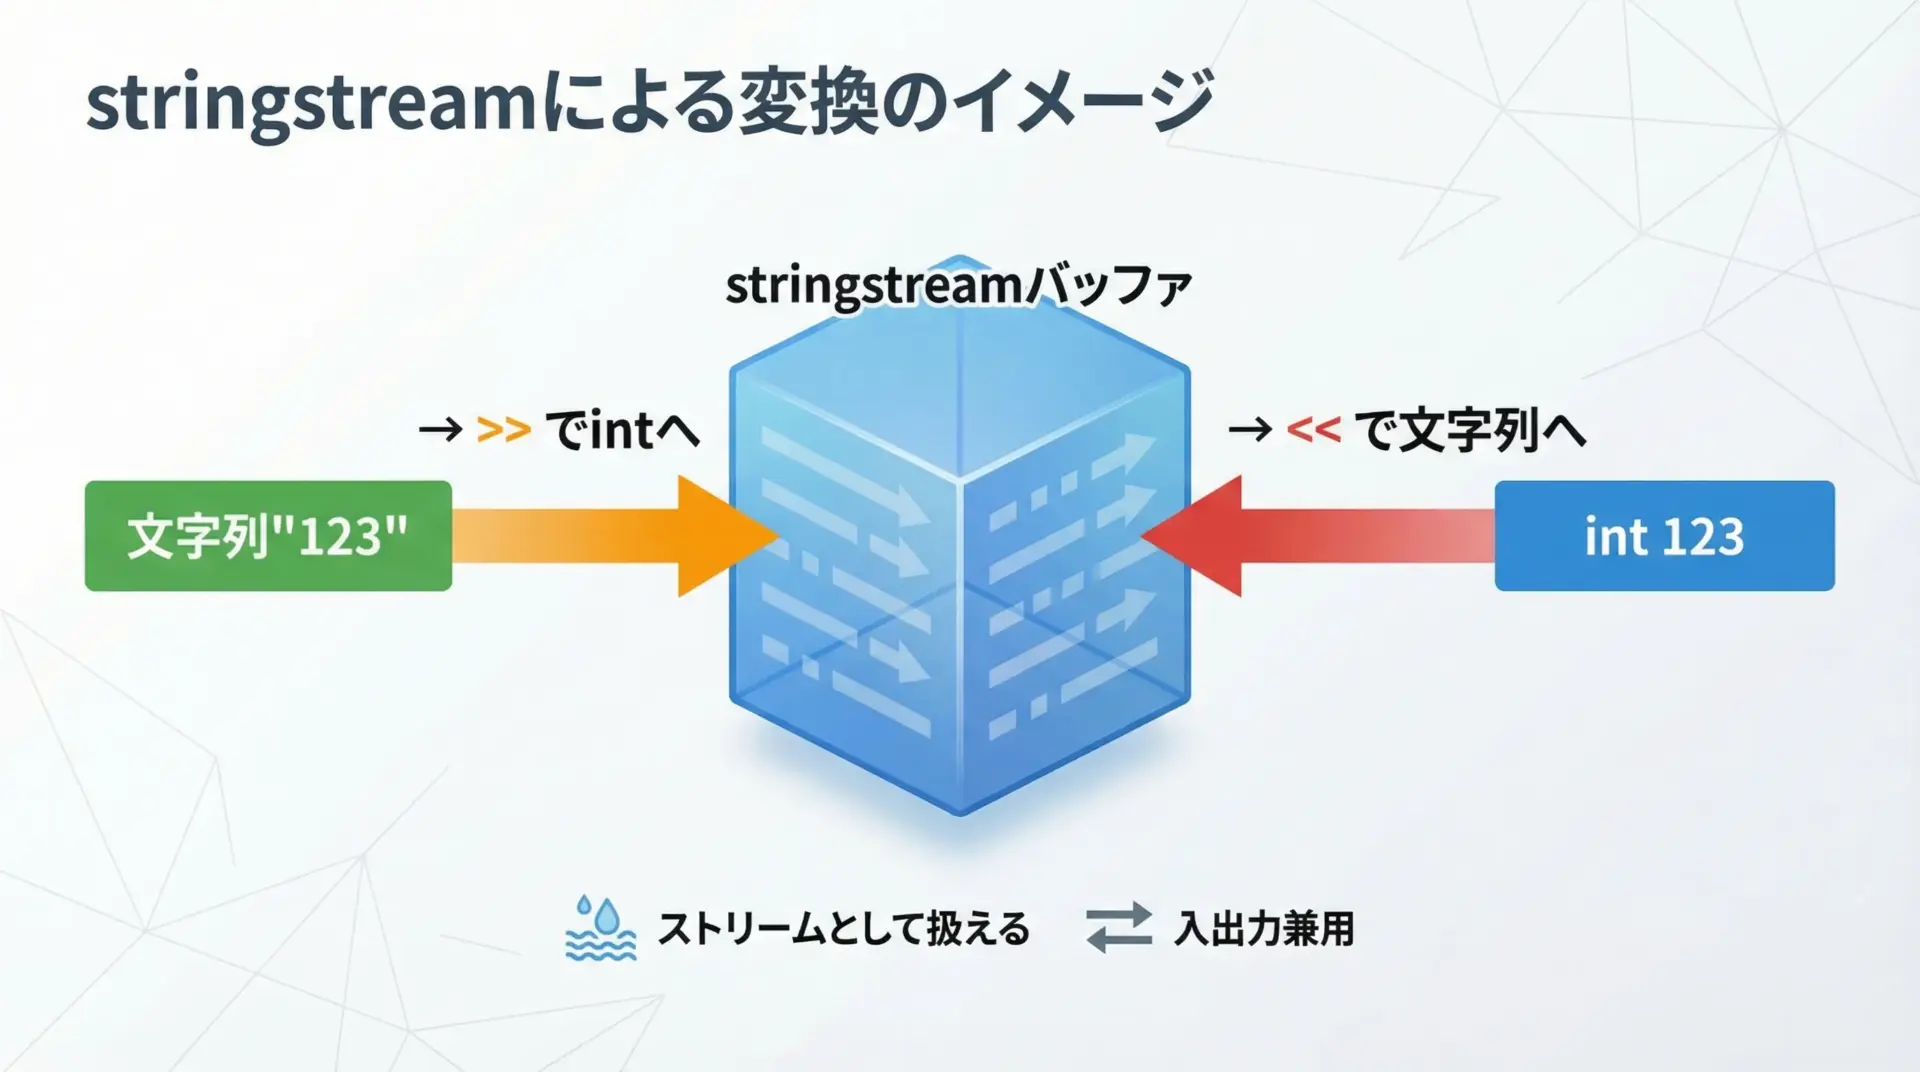
std::stringstreamによる変換
stringstreamの基本
std::stringstreamは文字列をストリームとして扱うクラスです。
入出力演算子<<や>>を使って、intやdoubleなどと相互に変換できます。
#include <iostream>
#include <sstream>  // std::stringstream
#include <string>

int main() {
    std::string s = "789";
    std::stringstream ss;

    // 文字列をstringstreamに流し込む
    ss << s;

    int value;
    // ストリームからintとして読み出す
    ss >> value;

    std::cout << "変換結果: " << value << std::endl;
    return 0;
}変換結果: 789stringstreamは複数の値を続けて読み書きできるため、より複雑なフォーマットを扱うときに便利です。
ただし、単純なstring ⇔ int変換だけならstd::stoi/std::to_stringの方が簡潔です。
変換失敗の検出
stringstreamは例外を投げず、ストリームの状態フラグで失敗を検出します。
そのため、変換が成功したかどうかはフラグをチェックする必要があります。
#include <iostream>
#include <sstream>
#include <string>

int main() {
    std::string s1 = "123";
    std::string s2 = "abc";  // 数値でない

    auto tryParseInt = [](const std::string &src) {
        std::stringstream ss(src);
        int value;

        if (ss >> value) {
            std::cout << "変換成功: \"" << src << "\" -> " << value << std::endl;
        } else {
            std::cout << "変換失敗: \"" << src << "\"" << std::endl;
        }
    };

    tryParseInt(s1);
    tryParseInt(s2);

    return 0;
}変換成功: "123" -> 123
変換失敗: "abc"例外を使いたくない場合や、フォーマットが複雑な場合にはstringstreamが選択肢になります。
C標準関数(atoi/strtolなど)の位置づけ
C言語由来のatoiやstrtolもstring → int変換に使えますが、現代的なC++ではstd::stoiなどに比べて推奨度は下がります。

代表的な違いを表にまとめます。
| 関数 | 言語由来 | エラー検出方法 | 推奨度(現代C++) |
|---|---|---|---|
| atoi | C | 失敗時の判定が困難(nullや0と区別不可) | 低 |
| strtol | C | errnoやポインタで判定 | 中 |
| std::stoi | C++11 | 例外(invalid_argument, out_of_range) | 高 |
| stringstream | C++ | ストリーム状態フラグ | 中〜高 |
新規コードではstd::stoiを基本とし、どうしてもCのAPIに合わせる必要がある場合のみstrtolなどを検討するとよいです。
intからstringへの変換方法
std::to_stringによる変換(推奨)
基本的な使い方
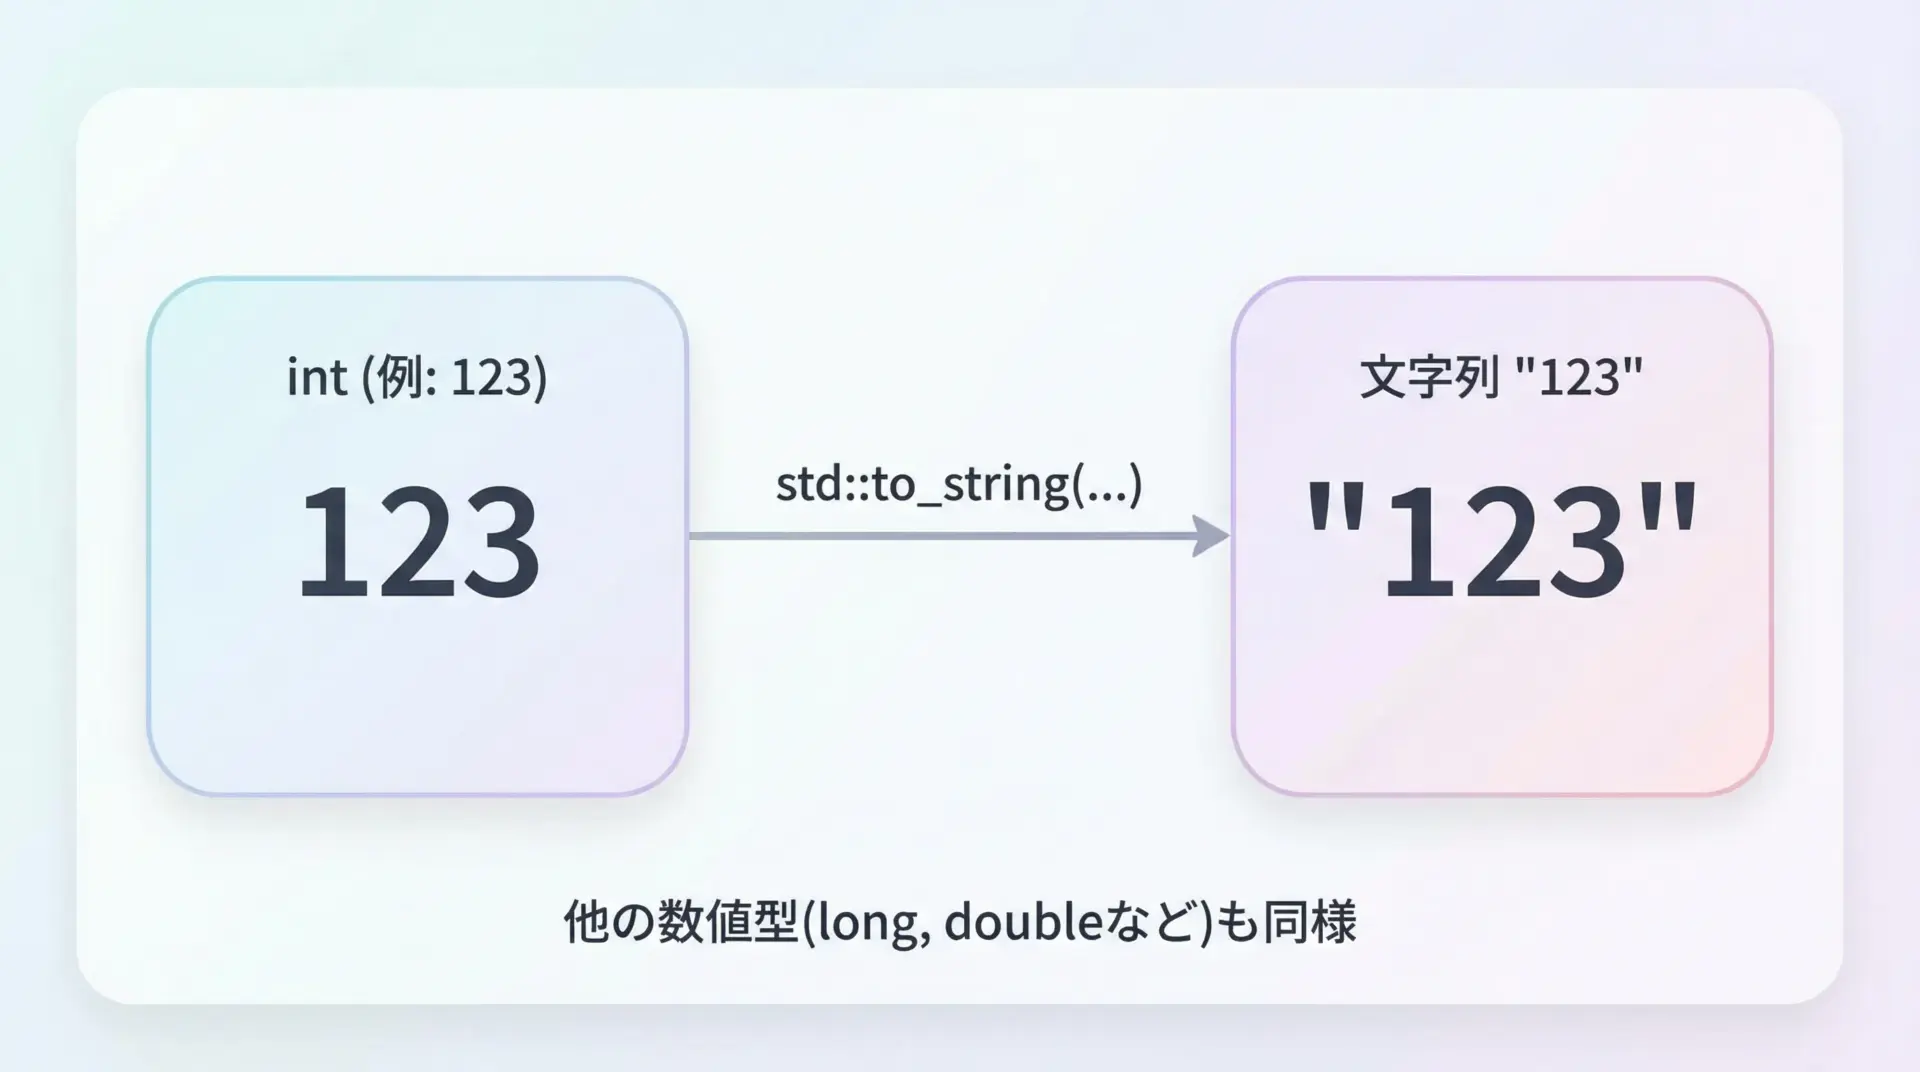
intからstringへの変換では、std::to_stringが最もシンプルで実用的です。
ヘッダ<string>に定義されています。
#include <iostream>
#include <string>  // std::to_string

int main() {
    int value = 1024;

    // intからstringへ変換
    std::string s = std::to_string(value);

    std::cout << "文字列に変換: " << s << std::endl;
    return 0;
}文字列に変換: 1024std::to_stringはint以外にも、long, long long, float, double, long doubleなどにオーバーロードされています。
文字列結合での利用
int → string変換は、ログ出力やメッセージ生成の中で使うことが多いです。
#include <iostream>
#include <string>

int main() {
    int userId = 42;
    int score = 9000;

    std::string message = "User " + std::to_string(userId)
                        + " scored " + std::to_string(score);

    std::cout << message << std::endl;
    return 0;
}User 42 scored 9000std::to_stringを使うことで、printf書式を覚えなくても直感的に文字列を組み立てられます。
std::stringstreamによるint → string変換
stringstreamを使えば、複数の値をまとめて書き込んでから文字列として取り出すことができます。
#include <iostream>
#include <sstream>
#include <string>

int main() {
    int year = 2025;
    int month = 1;
    int day = 1;

    std::stringstream ss;

    // << 演算子で数値を文字列ストリームに流し込む
    ss << year << "-" << month << "-" << day;

    // str()で内部の文字列を取得
    std::string dateStr = ss.str();

    std::cout << "日付文字列: " << dateStr << std::endl;
    return 0;
}日付文字列: 2025-1-1書式制御(iomanip)と組み合わせることで、ゼロ埋めなども簡単に行えます。
#include <iostream>
#include <sstream>
#include <iomanip>  // std::setw, std::setfill

int main() {
    int year = 2025;
    int month = 1;
    int day = 5;

    std::stringstream ss;

    ss << year << "-"
       << std::setw(2) << std::setfill('0') << month << "-"
       << std::setw(2) << std::setfill('0') << day;

    std::string dateStr = ss.str();

    std::cout << "ゼロ埋め日付文字列: " << dateStr << std::endl;
    return 0;
}ゼロ埋め日付文字列: 2025-01-05きれいなフォーマットで文字列を整形したいときはstringstream + iomanipが非常に強力です。
変換時のエラー・例外と実務的な選び方
例外を使うかどうか
string ⇔ int変換では「変換に失敗したときにどう扱うか」が実務上の重要ポイントです。
std::stoiは例外ベース、stringstreamは状態フラグベースでエラーを扱います。
例外を使う設計なら、次のような構成がよく使われます。
#include <iostream>
#include <string>

int toIntOrDefault(const std::string &s, int defaultValue) {
    try {
        return std::stoi(s);
    } catch (...) {
        // 変換できない場合はデフォルト値を返す
        return defaultValue;
    }
}

int main() {
    std::cout << toIntOrDefault("100", -1) << std::endl;   // 100
    std::cout << toIntOrDefault("abc", -1) << std::endl;   // -1
    return 0;
}100
-1例外を避けたい場合や高頻度で大量にパースするようなパフォーマンスセンシティブな場面では、stringstreamや手書きパーサを使うこともあります。
実務でのおすすめパターン
最後に、用途別にどの関数を選ぶとよいかを簡単に整理します。
| 用途・状況 | 推奨方法 |
|---|---|
| 単純なstring → int変換(入力値チェックあり) | std::stoi + 例外処理 |
| 単純なint → string変換 | std::to_string |
| 複数値のまとめた変換・フォーマット整形 | std::stringstream + iomanip |
| 例外を使えない/使いたくない環境 | std::stringstreamで状態を確認 |
| CのAPIとの連携が必須 | strtolなどC標準関数も検討 |
迷ったら「stoi + to_string」を起点に考え、必要に応じてstringstreamを併用する、という方針にしておくとコードが整理しやすくなります。
まとめ
C++でのstring ⇔ int変換は、std::stoiとstd::to_stringを中心に理解しておくとシンプルに整理できます。
安全な変換には、std::stoiでの例外処理やstringstreamでの状態チェックが不可欠です。
また、フォーマットを細かく制御したい場合にはstringstreamとiomanipを組み合わせると、ゼロ埋めや複数値の整形が容易になります。
用途に応じて、「簡潔さ」「エラー処理のしやすさ」「フォーマットの自由度」のバランスを取りながら変換方法を選ぶことが大切です。
